Reading 2bit files (for fun) - the index

Posted on 2020-09-05 10:59 +0100 in Coding • Tagged with Bioinformatics • 4 min read

As mentioned in the first post, once you've read in the header data for a 2bit file, the next step is to read the index. This is an index into all the different sequences held in the file. Reading the index itself is fairly straightforward.

The index comes right after the header -- so it starts on the 17th byte of the file. Each entry in the index contains three items of information:

Content Type Size Comments
Name length Integer 1 byte How many bytes long the name is
Name String Varies Length given by previous field
Offset Integer 4 bytes Location in the file of the sequence

So, in some sort of pseudo-code, you'd read in the index as follows:

index = dict()
for seq = 1 to seq_count // seq_count comes from the header
  name_len = (int) read_bytes( 1 )
  name     = (string) read_bytes( name_len )
  offset   = (int) read_bytes( 4 )
  index[ name ] = offset
end

Note, as mentioned in the first post, the index will need to be byte-swapped if the file is in an endian form other than the machine you're running your code on. How you'd go about this will, of course, vary from language to language, but the main idea is always going to be the same.

There's a fairly striking downside to this approach though: reading data can often be an expensive (in terms of time) operation -- this is especially true if the data is coming in from a remote machine, perhaps even one that's being accessed over the Internet. As such, it's best if you can make as few "trips" to the file as possible.

With this in mind, the best thing to do is to read the whole index into memory in one go and then process it from there -- the idea being that that's just one trip to the data source. The problem here, however, is that there's nothing in the header or the index that tells you how large the index actually is. What you can do though is work on the worst case scenario (assuming memory will allow). The worst case is fairly easy to handle: it's going to be 1 byte for the name length, plus 255 bytes for the name (the longest possible name), plus 4 bytes for the offset; multiply all that by the number of sequences in the index and you have the worst-case buffer size.

When reading this data in you might also want to ensure you're not going to run off the end of the file (perhaps the names are all quite small and so are the sequences).

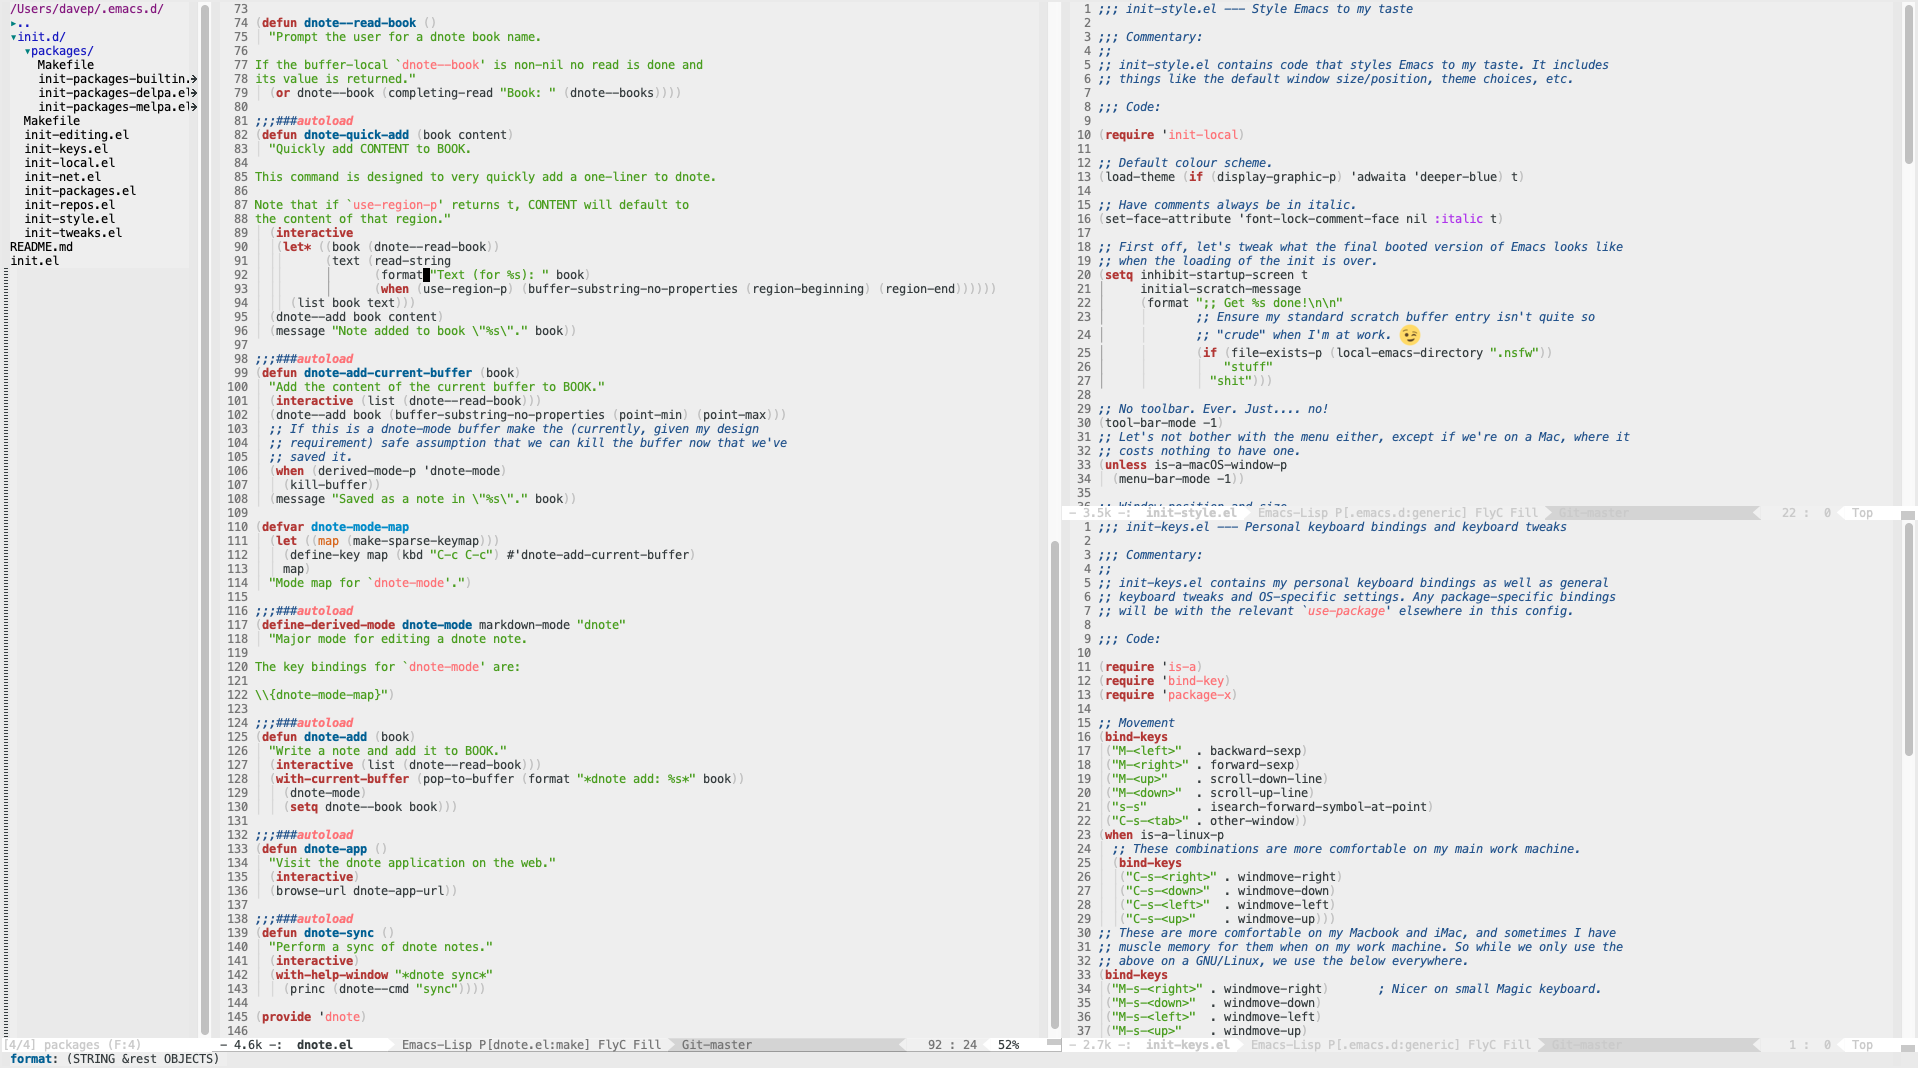
Recently I've been working on a package for Emacs that can read data from 2bit files, so here's the core code for reading in the index:

(defun 2bit--read-index (source)
  "Read the sequence index from SOURCE.

As a side effect `2bit-data-pos' of SOURCE will move."
  (cl-loop
   ;; The index will be a hash of sequence names, with the values being the
   ;; offsets within the file.
   with index = (make-hash-table :test #'equal)
   ;; We could read each name/value pair one by one, but because we're doing
   ;; this within Emacs, which means making a temp buffer for every read,
   ;; that could get pretty expensive pretty fast. So instead we'll read the
   ;; index data in in one go. However, there is no easy-to-calculate size
   ;; for the index. The best we can do is calculate the worst case size. So
   ;; let's do that. The worst case size is the maximum size of the name of
   ;; a sequence (255), plus the size of the byte that tells us the name
   ;; (1), plus the size of the word that is the offset in the file (4).
   with buffer = (2bit--read source (* (2bit-data-sequence-count source) (+ 255 1 4)))
   ;; For every sequence in the file...
   for n from 1 to (2bit-data-sequence-count source)
   ;; Calculate the position within the buffer for this loop around. Note
   ;; that the skip is the last position plus 1 for the size byte plus the
   ;; size plus the length of the offset word.
   for pos = 0 then (+ pos 1 size 4)
   ;; Get the length of the name of the sequence.
   for size = (aref buffer pos)
   ;; Pull out the name itself.
   for name = (substring buffer (1+ pos) (+ pos 1 size))
   ;; Pull out the offset.
   for offset = (2bit--word-from-bytes source (substring buffer (+ pos 1 size) (+ pos 1 size 4)))
   ;; Collect the offset into the hash.
   do (setf (gethash name index) offset)
   ;; Once we're all done.... return the index.
   finally return index))

This code does what I mention above: it grabs enough data into a buffer in one go that I'll have the whole index in memory to pull apart, and then I work with the in-memory copy. The index is added to a hashing dictionary. Note that, in this case, I don't actually do the test for running off the end of the file because at the heart of the file reading code is insert-file-contents-literally and it doesn't error if you request too much.

With that done you'll have a list of all the sequences in the file. The next part, which will come in the next post, is the properly tricky part: the decoding of the sequence data itself.


Reading 2bit files (for fun)

Posted on 2020-08-30 15:20 +0100 in Coding • Tagged with Bioinformatics • 6 min read

Introduction

I've written a bit before about the value of having simple but interesting "problems", that you know the solution to, as a way of exercising yourself in a new environment. Recently I've added another to the list I already have, and I used it as an excuse to get back into writing some Common Lisp; and then went on to use it as a reason to write yet another package for Emacs.

Having gone through the process of writing code to handle 2bit files twice in about a month, and in two very similar but slightly different languages, I thought it might be interesting for me to then use it to exercise my ability to write blog posts (something I always struggle with -- I find writing very hard on a number of levels) and especially posts that explain a particular problem and how I implemented code relating to that problem.

Also, because the initial version of this post rambled on a bit too much and I lost the ability to finish it, I'm starting again and will be breaking it up a number of posts spanning a number of days -- perhaps even weeks -- so that I don't feel too overwhelmed by the process of writing it. I will, of course, make sure every post links to the other posts.

Now, before I go on, I'll make the important point that everything here is written from the perspective of a software developer who happens to work as part of a bioinformatics team; I don't do bioinformatics, I don't claim to understand it, I just happen to sit with (well, used to sit with them -- hopefully we'll all make it back to the office one day!) and work with them, and develop software that supports their work. Anything you see in any of the posts that's wrong about that subject: that's just my ignorance being shown through the lens of a software developer (all corrections are welcome).

So, with all those disclaimers aside, I'm going to go on a slow wander through what a 2bit file is, how you'd go about reading it, and related issues. This isn't designed as a tutorial or anything like that, this is simply me taking what I've learnt and writing it down. Perhaps someone else will benefit one day, but the purpose is to simply enjoy cementing it in my own mind and to enjoy the process of putting it all in writing.

What is a "2bit file"?

So what's this new "problem" I've added to my list? It's code to read sequence data from 2bit format files. For anyone who doesn't know (bioinformatics people look away now; a software developer is going to explain one of your file formats), this is a file format that is intended to hold sequences in an efficient way. As I'm sure you know, DNA is made up of 4 bases, represented by the letters T, C, A and G. So, in the simplest case, we could just represent a genome using those four letters. Simple enough, right? Nice big text file with just those 4 letters in?

The thing is, something like the human genome is around 3 billion bases in length. That'd make for a petty big file to have to store and move around. So why not compress it down a bit? That's where the 2bit format comes in.

Given this problem I'm sure most developers would quickly notice that, given 4 different characters, you only need 2 bits to actually hold them all (two bits gets us 00, 01, 10 and 11, so four different states). This means with a little bit of coding you can store 4 bases in a single byte. Just like that you've pretty much squished the whole thing down to 1/4 of the original size. And that's more or less what the 2bit format does. If you take a look at the actual data for the human genome you'll see that hg38.2bit is roughly 1/4 of 3 billion bytes, ish, give or take.

There is a wrinkle, however. There are parts of a genome where you might not know what base is there. Generally an N is used for that. So, actually, we want to be able to store 5 different characters. But 5 isn't going to go into 2 bits... Damn! Well, it's okay, 2bit has a solution to that too, and I'll cover that later on.

How is a 2bit file formatted?

As you can see from the format information available online, a 2bit file is a binary file format that is split into 3 key parts:

  • A fixed size header with some key information
  • An index into the rest of the file
  • A series of records that contain actual sequence information

In this first post I'll cover the details of the header. Subsequent posts will cover the index and the actual sequence data records.

The header

The header of a 2bit file is fixed in size and contains some key information. It can be broken down as follows:

Content Type Size Comments
Signature Integer 4 bytes See below for endian issues.
Version Integer 4 bytes Always 0.
Sequence count Integer 4 bytes
Reserved Integer 4 bytes Always ignored.

The signature value is used to test if what you're looking at is a 2bit file, but also tells you some vital information about how to read the file -- see below for more on that. The version value is always 0 -- as such another useful test would be to error out if you get a valid signature but get a version other than 0. The sequence count is, as you'd guess, the number of sequences that are held within the file -- this is important when loading in the index of the file (more on that in the next post).

The signature, big and little endianness, and byte swapping

The header mentioned above comprises of 4 32-bit word values. The very first word is important to how you read the rest of the file. This is the signature for the 2bit file and it should always be 0x1A412743. And this is where it gets interesting and fun right away. The 2bit file format allows for the fact that the file can be built in either a little-endian or a big-endian machine, and the 32-bit word values can be binary-written to the file in the local architecture's byte order. The effect of this is that, from reading the very first value in the file, you need to decide if every other numeric value you read needs to be byte-swapped in some way. The early logic being (in no particular language) something like:

if signature == 0x1A412743 then
  must_swap = False
else if byte_swap( signature ) == 0x1A412743 then
  must_swap = True
else
  raise "This isn't a valid 2bit file"
end

Simply put, to read the rest of the file you will need a function that byte-swaps a 32bit numeric value, and a flag of some sort to mark that you need to do this every time you read such a value. Of course, depending on your language of choice, you could do it in a number of different ways. In a language like JavaScript or Scheme, where you can easily throw around functions, I'd probably just assign the appropriate 32bit-word-reading function to a global function name and call that regardless throughout the rest of the code. In other languages I'd probably just check the flag each time and call the swapping function if needed. In something like Python I'd likely just use the signature to decide on which format to pass to struct.unpack. For example, some variation on:

# Assuming that 'header' is the whole header of the file read as a binary buffer.

word_fmt = ""

for test_fmt in ( "<I", ">I" ):
    if struct.unpack( test_fmt, header[ 0:4 ] )[ 0 ] == 0x1A412743
        word_fmt = test_fmt
        break

if not word_fmt:
    raise Exception( "This isn't a 2bit file" )

Now, the Python approach sort of hides the important detail here. With it we'd simply use struct.unpack's ability to handle different byte orders and not worry about the detail. Which isn't fun, right? So how might code to byte-swap a 32bit value look?

Assuming you've got the value as an actual numeric integer, it can be as simple as using a bit of bitwise anding and shifting. Here's the basic code I wrote in Common Lisp, for example:

(defun swap-long (value)
  "Swap the endianness of a long integer VALUE."
  (logior
   (logand (ash value -24) #xff)
   (logand (ash value -8) #xff00)
   (logand (ash value 8) #xff0000)
   (logand (ash value 24) #xff000000)))

JavaScript might be something like:

function swapLong( value ) {
    return ( ( value >> 24 ) & 0xff       ) |
           ( ( value >>  8 ) & 0xff00     ) |
           ( ( value <<  8 ) & 0xff0000   ) |
           ( ( value << 24 ) & 0xff000000 )
}

and other variations on that theme in different languages.

Up next

In the next post I'll write about how the sequence index is stored and how to load it, including some considerations about how to make the loading as efficient as possible.


When the man page fibs

Posted on 2020-07-10 20:58 +0100 in Coding • Tagged with homebrew, macOS, Unix, Python • 3 min read

Earlier this week something in my development environment, relating to Homebrew, Python, pyenv and pipenv, got updated and broke a handful of repositories. Not in a way that I couldn't recover from, just in a way that was annoying, got in the way of my workflow, and needed attention. (note to self: how I set up for Python/Django development on a machine might be a good post in the future)

Once I was sure what the fix was (pretty much: nuke the virtual environment and recreate it with pipenv, being very explicit about the version of Python to use) the next step was to figure out how many repositories were affected; not all were and there wasn't an obvious pattern to it. What was obvious was that the problem came down to python in the .venv directory pointing to a binary that didn't exist any more.

Screenshot 2020-07-10 at 20.21.15.png

So... tracking down problematic repositories would be simple enough, just look for every instance of .venv/bin/python and be sure it points to something rather than nothing; if it points to nothing I need to remake the virtual environment.

I quickly knocked up a script that was based around looking over the results of a find, and initially decided to use file to perform the test on python. It seemed to make sense, as I wrote the script I checked the man page for file(1) on macOS and sure enough, this exists:

-E On filesystem errors (file not found etc), instead of handling the error as regular output as POSIX mandates and keep going, issue an error message and exit.

Given that file dereferences links by default, that should get me an error for a broken link, right? Bit hacky I guess, but it was the first thing that came to mind for a quick bit of scripting and would do the trick. Only...

$ file -E does-not-exist
file: invalid option -- E
Usage: file [bcCdEhikLlNnprsvzZ0] [-e test] [-f namefile] [-F separator] [-m magicfiles] [-M magicfiles] file...
       file -C -m magicfiles
Try `file --help' for more information.

Wat?!? But it's right there! It says so in the manual! -E is documented right in the manual page! And yet it's not in the valid switch list as put out by the command, and it's an invalid option. The hell?

So I go back and look at the man page again and then I notice it isn't in the list of switches in the synopsis.

SYNOPSIS
file [-bcdDhiIkLnNprsvz] [--extension] [--mime-encoding] [--mime-type] [-f namefile] [-m magicfiles] [-P name=value] [-M magicfiles] file
file -C [-m magicfiles]
file [--help]

I then did the obvious tests. Did I have file aliased in some way? No. Was some other thing that works and acts like file in my path? No. Was I absolutely 100% using /usr/bin/file? Yes.

Long story short: it seems the man page for file, on macOS, fibs about what switches it supports; it says that -E is a valid option, but it's not there.

What's even odder is the man page says it documents v5.04 of the command, but --version reports v5.37. Meanwhile, if I check on a GNU/Linux box I have access to, it does support -E, reports it in the switches, documents it in the man page (in both the synopsis and in the main body of the page) and it is v5.25 (and so is its man page).

So that was something like 20 minutes lost to a very small problem, for which there was no real solution, but was time that had to be spent to get to the bottom of it.

In the end I went with what I probably should have gone with in the first place: stat -L.

for venv in $(find . -name .venv)
do
    if ! stat -L "$venv/bin/python" > /dev/null 2>&1
    then
        echo "$(dirname $venv)"
    fi
done

And now I have that script in my ~/bin directory, ready for the next time Homebrew and friends conspire to throw my day off for a while.


Helping myself change the default git branch

Posted on 2020-07-09 20:17 +0100 in Coding • Tagged with git • 2 min read

This is something I've being meaning to do for a couple or so years now, and unsurprisingly it's bubbled up again recently: the business of swapping the name of the master branch in git out for something better.

Because it's one of those jobs that's simultaneously simple and also laborious, I kept putting it off. Changing up the local configuration so that main (or whatever name you prefer) is used "out of the box" is simple enough; the laborious part is updating all of the repositories that live in the "forge of choice". In my case, over on GitHub, I have getting on for 200 repositories -- 142 of which are public (as of the time of writing). At work we use GitLab as our internal forge and I've got a non-trivial number of repositories on there too.

The obvious first step to tackling this is to knock up a little tool to help find the repos that still need swapping. That was simple enough:

#!/bin/bash

# Quick and dirty tool to find repositories that still make use of a
# "master" branch. Helps with tracking down the ones that need
# updating/improving.

for repo in $(find . -name .git)
do
    (
        cd "$(dirname $repo)"

        if git branch | grep master > /dev/null 2>&1
        then
            echo "$(dirname $repo)"
        fi
    )
done

### git-archaic ends here

It's not meant to be clever, just something I can run when I'm in a "default branch swapping" mood so find a repository or two to tackle. The idea being that it uses find to pull out any instance of .git in or below the current directory, changes to it (inside a sub-process to ensure the PWD gets put back after the cd that happens, before the next iteration of the loop), gets a list of the branches and, if master is one of them, prints the directory name.

Using this, I can now slowly work through my more active repositories and make the swap -- the idea being that if I currently have them cloned down to my machine, they're obviously some level of "active". At some point I imagine I could get more clever and use the APIs of the forges to look at all the repositories I own; that's another job for another day.

This gives me enough to be going on with. :-)


A second attempt to learn Swift

Posted on 2020-06-21 14:48 +0100 in Coding • Tagged with Swift, Apple, coding • 4 min read

It's five years ago this month that I bought myself my first macOS (then OS X) device. After many years of having a Windows machine as my daily driver, which was also my work machine (I worked from home), I decided it was high time that I returned to having a Unix-a-like system on my desk too. For a decade or so, starting in the later-90s, I'd had a GNU/Linux desktop. I still had a Windows desktop (until a couple of years ago most of my work was on DOS and Windows), but thanks to the wonders of a KVM, and later an X server that ran on Windows, my personal hacking was done on a GNU/Linux desktop.

But as things moved around, priorities changed, as life moved on, the GNU/Linux boxes got retired and never quite replaced. Eventually, in 2015, I found myself with the means and desire to recover that sort of setup. Long story short, after a lot of reading up and weighing up options I decided that the best option for a desktop Unix was... an iMac!

I loved it. Sure, there were lots of little things on the surface that were different or annoying or just plain not as cool as the Mac fans would tell you, but under the hood I found what I needed: a Unix CLI with all the things I knew well. And, of course, it ran GNU Emacs just fine; that was the really important thing for me.

Pretty much right away I decided that it might be fun to learn the tools necessary to develop native Mac apps, and perhaps even iOS apps. I downloaded XCode, bought a book, and started working through it. Having got that book, I decided it might be interesting to own an iOS device too. So, sort of needing an MP3 player, and having no wish to get an iPhone, I got myself an iPod Touch. So I was all set to devour the Swift book, write some stuff for OS X, create an iOS app or two, and... life happened. Stuff cropped up that distracted me from taking that further and I never really returned to working through the book.

Fast forward to now and that initial iMac and iPod purchase spiralled a wee bit. Next after the iPod was an iPad Mini, when my Nexus 7 was starting to show its age and it was obvious that Google wasn't going to produce any more good Android tablets. Then, when I needed a very portable Unix-a-like machine for trips between where I was living and Edinburgh, I got myself a MacBook Air. Since then the iPod Touch has been replaced once, as has the iPad Mini. I now also own an iPad and a MacBook Pro. Unless Apple screw up and turn Macs into something unusable for developers (there are rumours), I imagine I'll be using Apple devices for some time to come now.

And then, last month, having finally got frustrated with where Google were going with Android and the Pixel series, I jumped ship to the iPhone 11.

As of right now I'm in a situation where I'm all about the Apple ecosystem regarding hardware and operating systems (including for my work machine), all of which is there to support my heavy use of the Google ecosystem (actually, the one bit of Google hardware I still lean on heavily is the Google Home -- I have 3 around my home).

So... given all of that, I thought it was time to look at returning to learning Swift, with a view to writing some native macOS and i(Pad)OS stuff. I soon realised that the book I'd bought back in 2015 was rather out of date. It covers Swift 1.2 -- we're now up to 5.2! Given this, and given I've forgotten pretty much everything I'd read at the time, I decided I should start again from scratch.

This weekend I've started reading my way though iOS Programming Fundamentals with Swift. While this obviously has an emphasis on iOS, I'm already finding that the first part of the book is a really great introduction to the Swift language in general. The pace seems just right, and the way topics are grouped makes it easy enough for me to skip over what's obvious (I don't need to know what objected-oriented programming is, and what the difference between a class and an object is, etc) and read up on the detail of this particular language when it comes to general concepts I know (knowing the differences between a class, struct and enum in the language is important, for example).

I've yet to write a line of code, but I'm fine with that. The book is spending a lot of time introducing the language before encouraging you to fire up XCode, and I'm okay with that. I'm never a fan of being asked to write out code that I can't properly follow -- that just makes stuff look like magic when it's far more educational to know what's going on. What I am finding is I'm making lots of notes that are either "oh, yeah, this is cool, I like this idea!" or "WTF are you kidding me?!?". Which is really nice -- it's always great to learn a new language that's a bit different from what you normally use.

My plan then, over the next few weeks, it to keep at this and hopefully document my journey. I think I'd like to write a short series of TIL-type posts; nothing too long, just some new thing I read or discovered and my reaction to it. So, if you happen to follow this blog, I apologise in advance for any Swift-spam.

You have been warned. ;-)


Where I live and work

Posted on 2020-01-11 14:17 +0000 in Coding • Tagged with Emacs, shell • 2 min read

It's no surprise that I spend a lot of time in Emacs. Especially when I'm developing software, either for work or for personal fun, most of my time is time spent in Emacs. While I do obviously flit over to Chrome, and mostly do my CLI stuff in iTerm2 (I really like eshell but it just can't replace a good terminal for me), I spend a lot of time looking at Emacs.

Here's what my Emacs looks like:

Screenshot 2020-01-11 at 13.49.04.png

Key elements for me are as follows:

Light background

Something I've never really got on with when it comes to code editing is dark themes and dark backgrounds. I find it too much of an eye strain. Oddly, I tend to prefer dark themes everywhere else, but not when it comes to working in Emacs. The theme I use is the built-in adwaita theme.

Less boring mode line

I make use of powerline to make the mode line a bit less boring-looking. While the colour scheme is such that it's kept in line with the light look, the style is nice in that it sort of matches the style of prompt I use in my shell.

Screenshot 2020-01-11 at 14.05.39.png

Full screen

I always run Emacs as a full-screen application, then splitting it into different tiled windows using its own internal window handling. This is something I've done from way back when I got started with my first GNU/Linux desktop machine, and still like to do on macOS.

I also run Emacs as a server and then use a little wrapper around emacsclient to open files (both locally and remotely) from the command line in that Emacs session.

Comfortable eshell when I need it

Although I say above that I generally don't use eshell, preferring to use a full-featured terminal application, in combination with fish, I do sometimes dip into eshell for quick things. So of course I have that configured to feel comfortable too.

Screenshot 2020-01-11 at 14.10.07.png

I do this easily thanks to eshell-git-prompt.


Getting started

Posted on 2019-11-17 11:36 +0000 in Coding • Tagged with Coding, learning • 2 min read

By coincidence, in a couple of different places over the last couple of weeks, the subject of "how do I progress in leaning to program?" has cropped up. For me, I think the approaches and solutions tend to be the same for when I want to get my head around a new language: read good examples of idiomatic code, read other related materials, find a problem you care about and implement a solution (ideally something you'll directly benefit from, or at least others may benefit from). Hence the 5x5 puzzle and Norton Guide reader projects I mentioned in my previous post.

Of course, not everyone has problems that they need solving in a way that would work for this approach. So another approach I've recommended in the past is to go looking on somewhere like GitHub and find projects that promote "low-hanging fruit" issues in a way that's designed to be friendly for those who are new to development, new to contributing or new to the problem domain.

While looking for examples of this yesterday I stumbled on Awesome for Beginners. This looks like a great list and one I'm going to keep bookmarked for future reference. Now, this particular list does seem to have an emphasis on pulling in people who are new to contributing to a project rather than new to development, but it does strike me as a good place to start looking no matter where you're coming from.

I know I'm going to start having a wander around that list. It's always nice to contribute and I feel there's real personal benefit in actively solving a problem that someone else has and welcomes help with.


gh.fish -- Quickly visit a repo's forge

Posted on 2019-10-20 13:15 +0100 in Coding • Tagged with fish, git • 2 min read

These days fish is my shell of choice. I started out with bash back in the 1990s, went through a bit of a zsh/oh-my-zsh phase, but earlier this year finally settled on fish.

At some point I might write a post about my fish config, and why fish works well for me. But that's an idea for another time.

In this post I thought I'd share a little snippet of code that can come in handy now and again.

Sometimes I find myself inside a git repo, in the shell, and I want to get to the "forge" for that repo. This is most often either on GitHub, or in a company-local installation of GitLab. To get there quickly I wrote gh.fish:

##############################################################################
# Attempt go visit the origin hub for the current repo.

function gh -d "Visit the repo in its origin hub"

    # Check that there is some sort of origin.
    set origin (git config --get remote.origin.url)

    # If we didn't get anything...
    if not test "$origin"
        # ...complain and exit.
        echo "This doesn't appear to be a git repo with an origin"
        return 1
    end

    # Open in the browser.
    open "https://"(string replace ":" "/" (string replace -r '\.git$' "" (string split "@" $origin)[ 2 ]))

end

### gh.fish ends here

The idea is pretty simple: I see if the repo has an origin of some description and, if it has, I slice and dice it into something that looks like the URL you'd expect to find for a GitHub or GitLab repo. Finally I use open to open the URL in the environment's browser of choice.


jsNG

Posted on 2017-03-10 10:14 +0000 in Coding • Tagged with Norton Guide, Coding, JavaScript • 3 min read

Like many programmers, I have a couple of "Hello, World" projects that I've carried with me over the years. One is 5x5 (which has been used to get to grips with things as diverse as the Palm Pilot and GNU emacs). Another is Norton Guides database readers.

I've made Norton Guides tools that have allowed web servers to serve guides (w3ng), that have allowed you to convert guides to HTML (ng2html), that have let you read guides on OS/2 and GNU/Linux (eg) and also have let you read guides in Microsoft Windows (weg). It's a problem I know fairly well and one where I know the solution well enough so I can concentrate on learning the new language or environment.

Recently I wanted to get to grips with some "pure" ES6 coding while also getting to know node.js. A new version of the Norton Guide code, written for this environment, seemed like a good thing to do.

And so jsNG was born.

At its core is a library of code for opening and reading data from Norton Guides databases. While I doubt it's good ES6 code, or even good node.js code, it's been very useful in giving me a fun problem to solve and it'll carry on being something I'll tweak and tinker with by way of trying new things out.

On top of this I've built a handful of tools for working with Norton Guides databases. The most useful one at the moment (the others are more in the "test the library" than the "make something handy with the library" category) is ngserve. This is designed as a simple Norton Guides database HTTP server.

ngserve in action

When run, you give it a list of guides to serve:

Starting ngserve

and it does the right thing. It has a small number of command line options that help configure what it does:

ngserve command line options

Possibly the most useful are the ones that let you change how it handles "higher" DOS characters and, if you don't like the default colours and stuff, the option that lets you point to your own style sheet (note for now you'll need to host the stylesheet somewhere else -- ngserve won't serve it for you; I'm aiming to change that in some way in the near future).

jsNG does have a fairly basic design compromise at its heart. In the very early version I started out using the async functions for opening and reading the guides. This got very tedious very quickly and I could see that it was going to make for a very messy library with a very messy interface. While it might not be in the spirit of node.js programming I decided to go with the sync version of the file IO functions and code up the core library based around this.

This approach also means that I took another leap that I never have done with Norton Guides before: rather than doing the traditional thing of keeping an open handle into them and reading direct from the file as you navigate the guide, I simply read it all into a buffer in one go and keep it in memory. This is a "guides are small, memory is cheap, things will go faster" approach.

It does mean that when you load up a load of guides into ngserve they're all sat in memory. The upside of this is that things should be a lot faster and the code is a lot easier to follow (I think). To put this in some perspective: I have a directory here that contains 110 Norton Guides files. They total 36M in size. If that seems like a lot of stuff to hold in memory... remind me how much is being used by your web browser so you can look at some hilarious kittens. ;)

Anyway, that's where I'm at with it right now. The code is mostly settled and mostly tidy. I need to write up some documentation for it (and so I need to take a look at good JavaScript documentation tools) and perhaps tinker with ngserve a little more. I'd also like to do a new version of ng2html with this -- a version that makes it far easier to control the style of the output. I'm also tempted to do a CLI-based reader in pure ES6; something similar to EG or WEG.

All in good time.