HomePod Stuck Installing Update
Posted on 2023-07-29 07:56 +0100 in Tech • Tagged with Apple • 2 min read
I have three HomePods. I have a Mini in the kitchen and one in the bedroom. I then have one of the newer-gen "big" HomePods in the living room, which amongst other things is the speaker for my Apple TV device (yeah, I'm kinda Apple all over the place these days).
This week there was an update to the software, updating to 16.6. The two Minis updated just fine. The big one, however, days later...
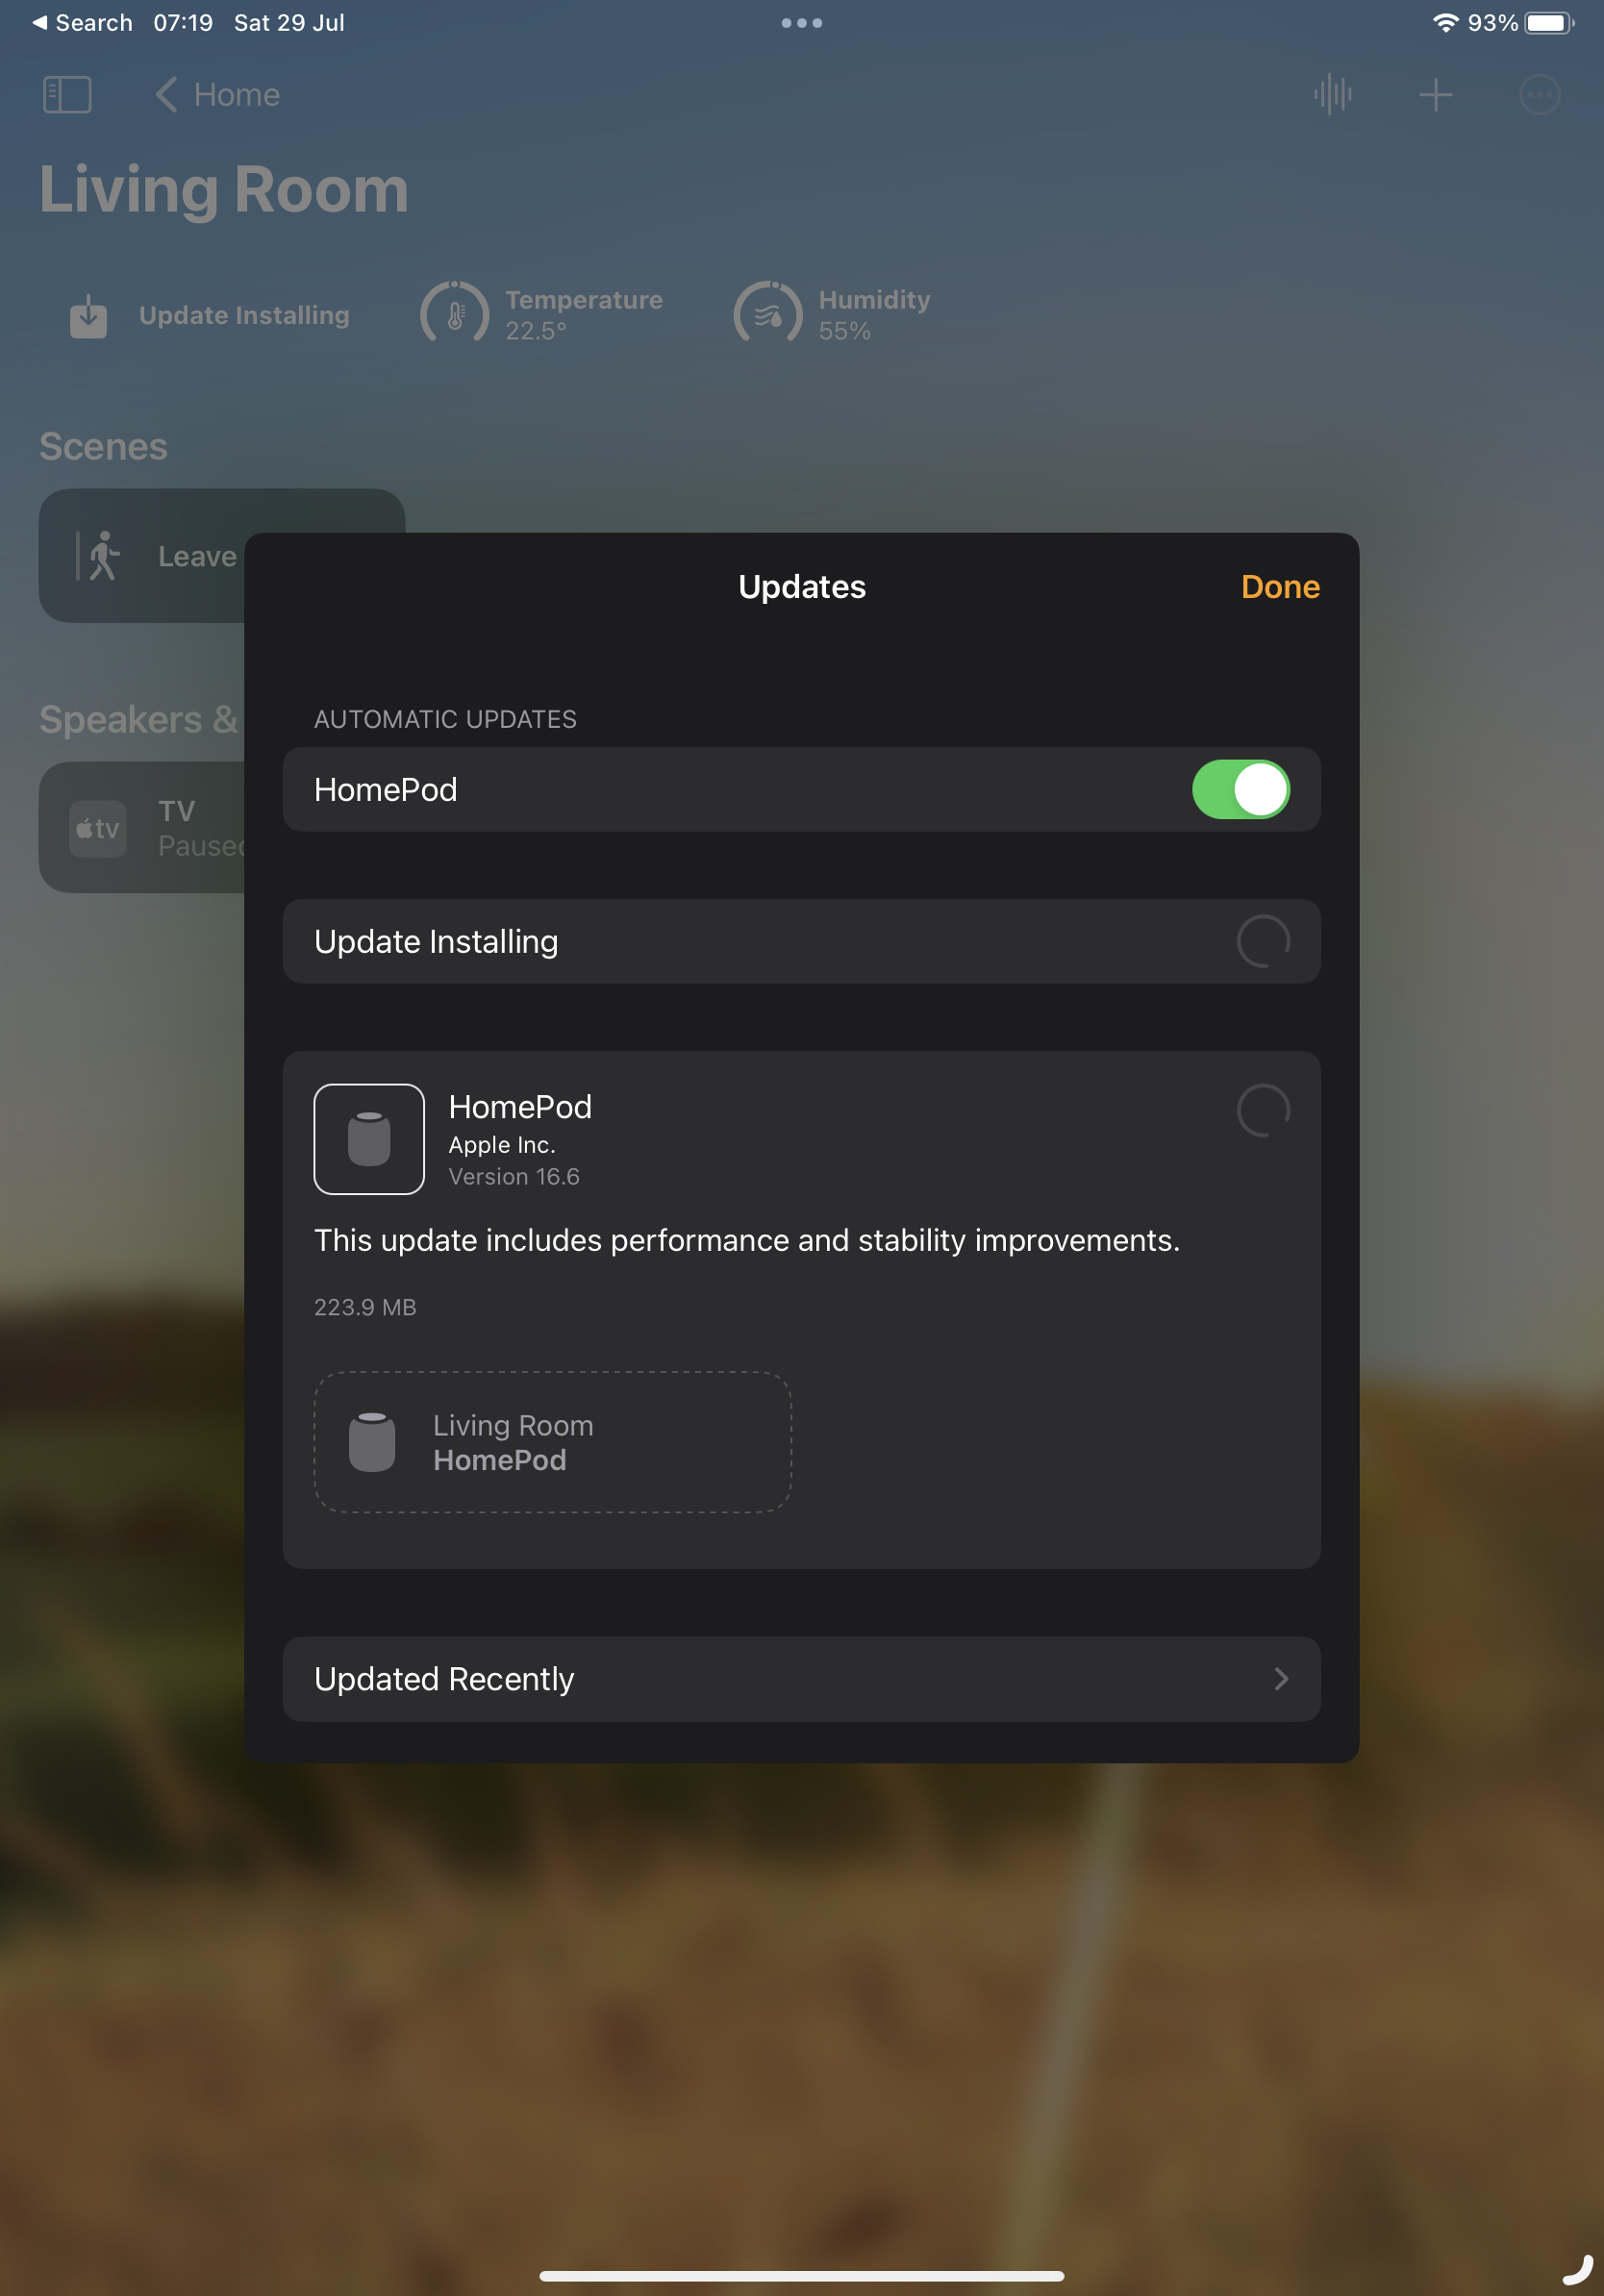
It's been like this all the time since the update turned up. I've tried a reboot from the Home app. I've tried pulling the plug and plugging it in again. Nope. It just keeps sitting there like this.
Meanwhile... it's working (more or less) fine. It's still playing music. It's still being the speaker for the Apple TV. It still answers most questions and performs most commands (most of the commands I give it are to add stuff to my Reminders).
On occasion if I ask it questions about other devices in the apartment ("hey siri, what's the temperature in the bedroom?") it'll do the "working on it" thing and then give up saying the thing wasn't responding. That seems to be about the worst of it.
Having checked this online it looks like, annoyingly, the one option I have left is to do a full reset, removing it from my Home, doing a factory reset, and then setting it up again. I'm sure it's something that'll take 10 minutes or so; but it's an annoyance.
Apple: #ItJustWorks.